Accidents happen – a hot landing into the dock; the log you didn’t see; the novice coxswain who, well is a novice. There aren’t many boats in the boathouse that don’t have at least one scratch or dent in them.
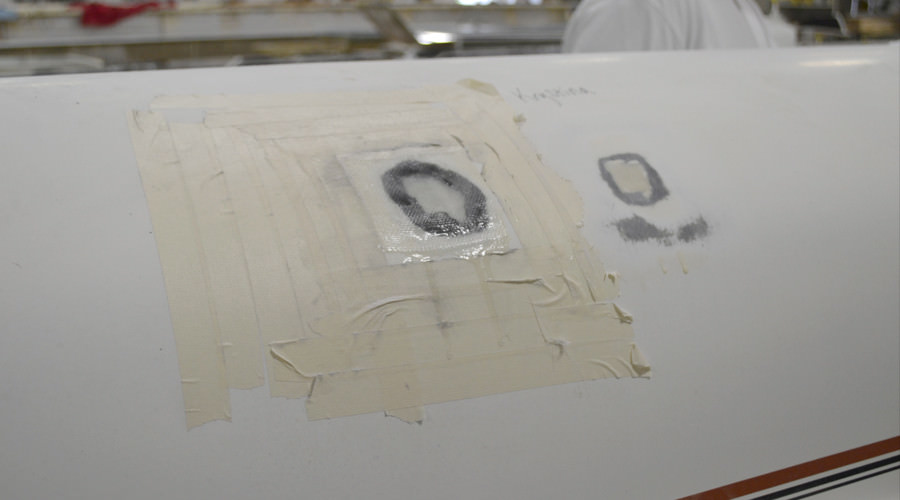
We’re often asked for tips for making at-home rowing repairs look professional, and it’s hard to explain over the phone. In fact, when we polled our Coach-Con assistants, repairs were the number one thing they wanted to hands-on experience with when they came to the Pocock Shop. So we sacrificed an older racing shell to the cause, and put about three dozen holes in the hull and let the Coach-Con’ers have at it. Here’s a video we made after the fact, outlining the steps that will work for any small rowing repair.
A few things to remember:
At-home rowing repairs should be limited to holes smaller than a quarter. Any larger than that and you will want someone quite skilled with carbon fiber repairs to take a look at your racing shell as you’ll likely need to build in additional hull reinforcement. Plus, holes that are skinny and run parallel to the keel are much less of a threat to hull integrity than those that are perpendicular to the keel. This is because carbon fiber gets its strength from the long, continuous fibers running down the length of the hull. Damage perpendicular to the keel cuts these fibers in half.
Our biggest suggestions – take your time; and remember that the more material you add, the more sanding you’ll have to do. So be as neat as you can, while still adding sufficient material to make the repair.
It’s great to have a visual, and we hope this video will help you feel more comfortable next time you tackle repairs at your boathouse!
Other posts you may find helpful:
Slick and Clean: Boat Cleaning Tips from the Pros
Composite Boats 101: Materials


No Comments
No comments yet.
Sorry, the comment form is closed at this time.